Indoor Play Spaces

Indoor Play Spaces

As a new mama and growing up with teachers (mama and grandmother), I truly feel that kids learn best through play. As soon as L became mobile (well, crawling at least), we stumbled upon Moozie’s Play Cafe in Turnersville so we went to check it out on a lazy Sunday. We loved how clean and organized it was. It is very well maintained and my daughter immediately loved the swing and rocking horse. They have a cedar jungle gym and mini stations set up for imaginary play and dress up as well as educational toys and puzzles for all ages. Since she wasn’t walking yet, she loved crawling over to the books, puzzles and toys that she could reach. When she could stand, she’d pull herself up to stand at the pretend kitchen and play there. Let’s not forget, they have free coffee (Blueberry Cobbler so good) and tea while the little ones play. We liked it so much that we ended up having her 1st birthday there! We went with the Super Moozie’s (where they handle it ALL for you from set up to break down and you don’t even lift a finger.

Recently, we went to Peekaboo Playground for a birthday party and she loved it. Everything is cushioned and soft, perfect for little crawlers, early walkers and now our little toddler who’s sprinting from the ball pit to the gear wall. What I loved is that this worked really well for all ages and the open play hours works better with our schedule, whereas Moozie’s we could only go on Sundays.

If you’re from PA or visiting, check out Lulu’s Casita or Charming Star Playroom. I’ve visited both and they’re both great, especially Charming Star which recently opened and gives you that homey feel.

If you’ve ever been to an indoor play space or recommend any I should check out, please let me know! As always, love hearing from you.

xo,
Chandreyi

Rocksbox Review

Rocksbox Review

Brown paper packages tied up with string is certainly one of my favorite things, especially when they come wrapped with a pink bow. The past few months, I’ve been trying Rocksbox, a jewelry rental subscription service. I signed up for a free month with a friend’s coupon code. So now that I’ve been using this for a few months, I wanted to share my experience. I have an eclectic taste in jewelry from simple earrings to my bold, statement Indian necklaces. As my mother would always remind me, an outfit is never fully complete without jewelry and lipstick. Most times, I purchase a necklace which I wear maybe a few times only to have it then sit in my closet because it doesn’t match with my current style or trend. As our personal styles change, Rocksbox allows you to try various styles and for me, to expand my horizons beyond my statement necklaces everyday.

So, how does Rocksbox work?

It reminds me of Stitch Fix + Rent the Runway. You get that exciting surprise element of Stitch Fix with being able to wear designer at a fraction of the cost like RTR. You start by perusing through an assortment of jewelry and add them to your “wish list.” The wish list allows your stylist to get a sense of your style and preferences. The recommended number of items on your wish list is usually thirty but the more items you have, the better chances you’ll have to get your “granted wishes.” Spot a necklace you’d love your stylist to send? You can rank certain pieces in your wish list and add them to your Top Ten. You get three pieces per month to wear as long as you want, as many times you want, and send back when you’re ready for a new set for only $21 a month. Make sure you hold onto all of the original packaging (it comes with a return label) so you can send everything back with no cost.

Rocksbox2

As I’ve been using them for quite some time, there’s a likelihood I’ll get my “granted wishes” which are what you have ranked in your Top Ten or something similar. Similar to Stitch Fix, you get a chance to review your loves, likes and dislikes and leave your feedback. One of my favorite features is that you can add a note if you have an occasion or event coming up, so you can upload a picture of an outfit to coordinate. Date night? Anniversary celebrations? Girl’s Night Out? Let them know!

Screen Shot 2019-08-24 at 9.34.09 PM

They added a new feature that allows you to swap your pieces for something so you are guaranteed to love everything you get. I’ll often choose them to “Surprise Me” so I can unpack that little box to see this month’s pick.

They are constantly adding new collections and designers so you’ll get to rock Kate Spade, Kendra Scott, ALEX and ANI and even try some new ones (Gorjana, Perry Street are some of my favorites!)

You get a $21 credit each month as well, a member discount and a buy three discount which I’ve already taken advantage of.

If you’re looking to spruce up your closet as you’re buying your Fall wardrobe, use my coupon code “chandreyibff” at checkout to get a free month. If you try it out or currently on this trend, let me know your thoughts, I’d love to hear from you.

xo,
Chandreyi

fall-lineuprocksbox

Wiggling Back

Wiggling Back

Hello! It’s been a while so I wanted to fill you in on where I’ve been and what’s who has been occupying my time. 2017, our family of three became a family of four when we found out that we were expecting! We wanted the gender to be a surprise so neutral clothes and nursery it was.

In 2018, we welcomed a darling baby girl. We knew what that meant – we were, ahem, are…in trouble.

In the middle of my mini hiatus, we embraced the changes and milestones as we adjusted (still adjusting) to a new normal.

So here we are 19 months later and I am excited to navigate life through the eyes of Leilani so stay tuned for my posts (“Wiggled”) about being a mama bear.

xo,

Chandreyi

salmon_cover

As the past few days we’ve been lucky with unusually nice weather in February, we wanted to spend more time lounging outside and less time meal prepping. Since Sunday are our meal planning days, we wanted easy menus for this coming week. Not to mention, I wanted to get all the cooking out of the way before I devoted my time to watching who’s wearing what during the red carpet for tonight’s Oscars. We like to have an assortment of both vegetarian and poultry or fish dishes. We recently picked up salmon from Trader Joe’s, so my husband wanted a quick, healthy and filling meal. Our main star here is the salmon and ingredients you probably have in your pantry, so let’s get started.

Ingredients:

  • Olive Oil
  • Salmon – 1 lb
  • Lemon – 1/2 a lemon squeeze & marinate with 2 slices
  • Brown Sugar – 2 tablespoons
  • Soy Sauce – 1 tablespoon
  • Chili Garlic Sauce – 1/2 – 1 tablespoon
  • Garam Masala – 1 tablespoon
    [Garam Masala is an Indian spice mix of coriander, cardamom, cinnamon and black pepper. The chili garlic sauce is a staple in our fridge. We usually purchase the garam masala and chili garlic sauce from our local Indian grocery store, but you can purchase them from Target from the links.]
  • Dash of salt and pepper 

Recipe:
Rub the salmon with all ingredients and place 2 lemon slices on top for at least 24 hours. The longer the spices have to marinate with the salmon, the better the flavors come together. We marinated everything on Friday and made it today. Once ready to cook, heat a pan or grill with olive oil and cook 3-5 minutes on each side. Today he’s having it with a side of steamed broccoli and tomorrow he’s already got his eyes on mushrooms. So simple, right? Do you have a favorite salmon recipe? If you’re trying this for tonight’s dinner, let me know how this dish turns out. Enjoy!

Chat

brusselsprouts_main

At our house, we’ve been on a healthy kick for the new year so I wanted to find more ways to incorporate more vegetables into our meals. Yesterday, my husband picked up brussel sprouts. Truth be told, I wasn’t the biggest fan of brussel sprouts that is until I tried them at a local restaurant, Iron Hill Brewery. Their fried roasted brussel sprouts are simple, easy and burnt to a crisp, hence being addicting. Brussel sprouts will never again be the same in my book. I wanted to replicate a similar recipe at home to share with my husband.

brusselsprouts_1

For this, you will need:

  • Brussel Sprouts (frozen or fresh)
  • Roasting pan lined with aluminum foil or silicone liners*
  • Grated pecorino romano cheese
  • Olive Oil
  • Spices: Salt, Pepper, Crushed Red Pepper
    *I purchased a set of 3 silicone liners from Costco for $14.99, they are great to use for roasting veggies and baking cookies. Find them at your local Costco, or you can purchase them here

Let’s get started, shall we?

  1. Preheat the oven to 400 degrees Fahrenheit.
  2. As the oven is heating up, wash and cut the brussel sprouts in halves.
  3. Toss them with olive oil, salt, pepper, crushed red pepper and pecorino romano.brusselsprouts_2
  4. Put them in the oven for 20 minutes.
  5. After 15 minutes, give them a toss and try a brussel to see if it needs more spices.
  6. Roast them for another 5 minutes (total roasting time: 25 – 30 minutes).

    brusselsprouts_3

  7. Look at the beautiful color! Once they are cooled, mix it into your salad or enjoy as a side dish with your main course.brusselsprouts_4brusselsprouts_5

    If you like brussel sprouts, what’s your favorite recipe? If you’ve never had brussel sprouts, give these a shot and let me know what you think. Enjoy cooking!


Chat

PippinMain.jpg

Winter is the time for napping, Netflix and hot cocoa, but with a pup in the house, you still need to make time to go out for your furry family member. Pippin has been in our family for a little over a year and we’ve learned quite a bit in a short time. Thank goodness for my fellow dog moms to get me through the “OMG” moments so I could survive my first year.

Here are our top five tips to help first time pup parents and their humans survive winter:
(with help from none other than Pippin, of course)

  1. Safety Comes Fur-st
    When strange things fall from the sky, aka snow, comes antifreeze and salt both of which are highly toxic and dangerous for dogs. Be extra cautious when walking your pup during the winter time, don’t let them meander on their own and as delicious as that snow looks, don’t let them eat it. After your walk, make sure you wipe them down from nose to tail especially their paws. A wet paper towel works best and is FREE!
  2. Pawsibly Best to Stay In
    Limit your time taking your pup outside and only do so if absolutely necessary. The snow is new and exciting but can also be a scary first time experience, so praise them for going potty outside with extra rewards. Pippin loves to snuggle during the winter months so we got him this cozy cave bed which he loves to hide in at bedtime. There are cheaper options on Amazon or even at your local home goods, but I love this because it’s machine washable and totally worth every penny. Look how cozy he looks in there!pippin_cave
  3. Don’t Fur-get to Stay Warm
    Smaller dogs like Pippin need that extra barrier of protection when going outside and if it’s their first time with snow, you want to keep them warm and cozy during the cold months.  When we initially got him a sweater, he’d immediately run and hide before we took him out but once he realized it keeps him warm (and with rewards), he knows it’s become a routine. (PS: Petco is currently running a sale on coats and outerwear!) Before we take Pippin out for winter days, he’s all set up with sweater and booties. If you decide to buy little boots for your pup, be sure they have straps that tie otherwise they will easily slip off (or mysteriously come off before you even make it outside). I purchased a pair of these Muttluks from our local PetValu as they were on sale. Anything on their paws are new, strange and they will NOT like it so allow yourself and the pup time for a test run. Try different shoes, see what they like or don’t like (keep those treats handy) before you make your purchase. When purchasing clothing and shoes, I definitely recommend your first purchase being in the store so you can try and see what sizes work best for your furry bud.pippin_final
  4. Pawtect those lil’ Paws
    A dog’s paws can deal with the roughness and toughness of so many surfaces but over time, they can wear and tear like the soles of our feet. Their paw pads are super sensitive so as much fun they may have stomping around in the snow, you want to make sure they are protected. My go-to product that I use on Pippin’s paws both for the snow and for those hot summer months is Musher’s Secret Pet Protection.
  5. Staying Active is Paw-some
    As we’re spending more time indoors, you want to find various activities to keep them entertained and active. Pippin LOVES his Barkbox each month with tons of toys and  treats to get us through the days so I love finding different ways to keep him entertained and busy.Here are Pippin’s top three things to do – [PS: toys should always be monitored and checked for any broken pieces or damages as no toy is indestructible]

Hope our quick five tips help you this winter. Fellow dog parents, what are your favorite tricks for winter?  We’d “ruv” to hear from you. Pipp will even share his s’mores with you!

Smores (1).jpg


Sensitive Skin Care

Sensitive Skin Care

skincare_header

Happy New Year! It’s been a rough/busy/chaotic couple of months since my last post but now that the holidays have come and gone, let’s start the new year discussing skin care.

I once considered myself lucky for surpassing those teenage acne days. Growing up, I never wore makeup except during dance recitals and when I dressed up as Cleopatra – make that 3 times and of course, eyeliner and red lipstick was a must. When I actually had to dress up, I was never fully dressed until my eyeliner and lipstick  (lipgloss did not count here) was on as per my mother. During college days, I relied on St.Ives or Neutrogena for face wash, Neem powder for masks and my roommates to do my makeup. Fast forward to when I became a grownup, adult acne showed up and suddenly makeup became a newfound appreciation obsession. Battling adult acne in your late 20’s/early 30’s is no easy feat and I consider myself lucky if I can maintain a calm skin and surpass angry pimples. The past couple of years have been a constant battle with finding a skin care routine. Between prescriptions, trying ayurvedic medicines, visiting dermatologists, testing different products and ultimately getting frustrated, it took me a while to realize the most important thing – consistency is key. 

Before you start any routine, keep in mind that true beauty truly starts from within. Good nutrition, sleep, exercising and keeping hydrated should come first and the rest will happen. This may seem like a lot of products and a ton of maintenance, but as my skin is uber sensitive and easily aggravated, I’ve gone through my fair share of trials and tribulations to finally find what works. Everyone’s skin reacts differently so do what works best for you and stick with it. Too much change too quickly will only anger your skin, so when it comes to changing a skincare routine, be sure to take baby steps.

skincare_main

AM Routine

  1. Wash face with CeraVe
    Cerave is a mild face wash similar to Purpose or Cetaphil. If you have sensitive skin like me, you want to be as gentle as possible. I use the foaming cleanser and lather up with water.
  2. Tone with Biologique Recherche Lotion P50
     A little bit goes a long way with this line. I use 1-2 drops on a cotton pad and pat upwards. My aesthetician first introduced me to this line a few years ago and since then it’s become my secret weapon to keep my oily face at bay, not to mention help reduce breakouts and redness. Note: If you’re pregnant or nursing, use the P50 “1970” without phenol.
  3. Prime with Hourglass Veil Mineral Primer before applying makeup
    Majority of the primers I’ve used break me out so this is the only one I can depend on. Primers help control the oil and shine and lessens me from having to blot my face 300 times a day. 
  4.  Use Paula’s Choice Resist C15 Super Booster (Vitamin C)
    I use 1-2 drops of the vitamin C mixed with my foundation which helps reduce my dark spots from previous scarring. Paula’s Choice was recommended to me by my grad school friend and blogger, Steffanie. You can read about her in-depth skincare post on Brighter, Darling

PM Routine

  1. Remove eye makeup with Neutrogena Oil-Free Eye Makeup Remover
    This is my cheap alternative to Lancome’s makeup remover and even works great for quick eyeliner or eyeshadow cleanups with a cotton swab. 
  2. Remove face makeup with Boscia Makeup-Breakup Cleansing oil
    My face never felt fully clean until I used a cleansing oil. I first started with Philosophy’s Purity Made Simple Cleansing Gel, but as it broke me out, I switched to Boscia and found it worked so much better. Use 1-2 pumps and work it into a lather with warm water to massage it onto your face to remove the makeup.
  3. Wash face with CeraVe
  4. Optional | Tone with Clindamycin Pledget *prescription*
  5. Optional | Exfoliate with Paula’s Choice Skin Perfecting 8% AHA Gel Exfoliant
    I use a tiny pump and dab it all over. This AHA gel helps minimize pores, reduces wrinkles and helps with uneven skin tone. 
  6. Optional | Spot treat with Finacea (Azelaic Acid) *prescription*
  7. Moisturize with Air Repair
    At night, our body naturally loses moisture so it’s very important to hydrate before bedtime so your skin has a chance to repair while you sleep. I like Air Repair because it’s moisturizing without being overly greasy, especially for the winter when my skin is super parched. 

Once a week, on Thursdays I exfoliate with my Clarisonic. I purchased my Clarisonic Mia during the holidays when they run special sales and typically include extra brush refills from Sephora. On Sundays, I use a mask, I love using Boscia or Masque Vivant. What’s in your skincare routine? I’d love to hear what works/doesn’t work for you.


Chat

Creole Turkey Burgers

CTB Picture Main

Nothing beats a summertime barbecue like a good ol’ burger. My husband doesn’t eat beef so we love making turkey burgers and I wanted to share one of our favorite recipes. The creole seasoning in this burger topped with the cumin mint spread and cucumber is easy to make and so delicious.

Ingredients:
– Ground Turkey [1 lb]
– Panko Bread Crumbs [6 tbsps]
– Egg [1]
– Milk [1 tbsp]
– Creole Seasoning [3-4 tbsps]
     * This can be store bought but I made mine super easily, check out Emeril’s recipe
– Salt and pepper
– Burger Buns or lettuce to go carb free
– Cucumber
– Cheese
– Burger toppings of your choice or feel free to try my cumin mint spread below

Cumin Mint Spread
– Sour cream [2 tsps]
– Cumin [just a dash, less than 1/4 tsp]
– Lime juice
– Mint leaves [2-3 leaves]

Instructions:
1.) Grab a bowl or plastic container to mix up all the ingredients

2.) First add the ground meat, then mix in the creole seasoning, milk, egg, panko bread crumbs with salt and pepper. The milk makes the burger moist while the egg and panko bread crumbs helps to bind the mixture together

3.) To mix it all together, use a utensil or your hands. We like using our hands to incorporate everything together and then form four individual patties

4.) Get your grill or pan ready to make your burgers

5.) Cook the meat (4-6 minutes on each side) until the center is no longer pink

6.) Once the burgers are done, you’re ready for the best part to assemble and eat. Turn the heat to low and top with cheese

7.) To make the cumin mint spread, mix the sour cream with the cumin and tear up the mint  leaves and add the lime juice. I love using my mini whisk for little dips and spreads like this. Try this with a side glass of my Lavender Lemonade.

cuminspread

TurkeyBurger


Chat

How To Make: Lavender Syrup + Lemonade

LL Sign
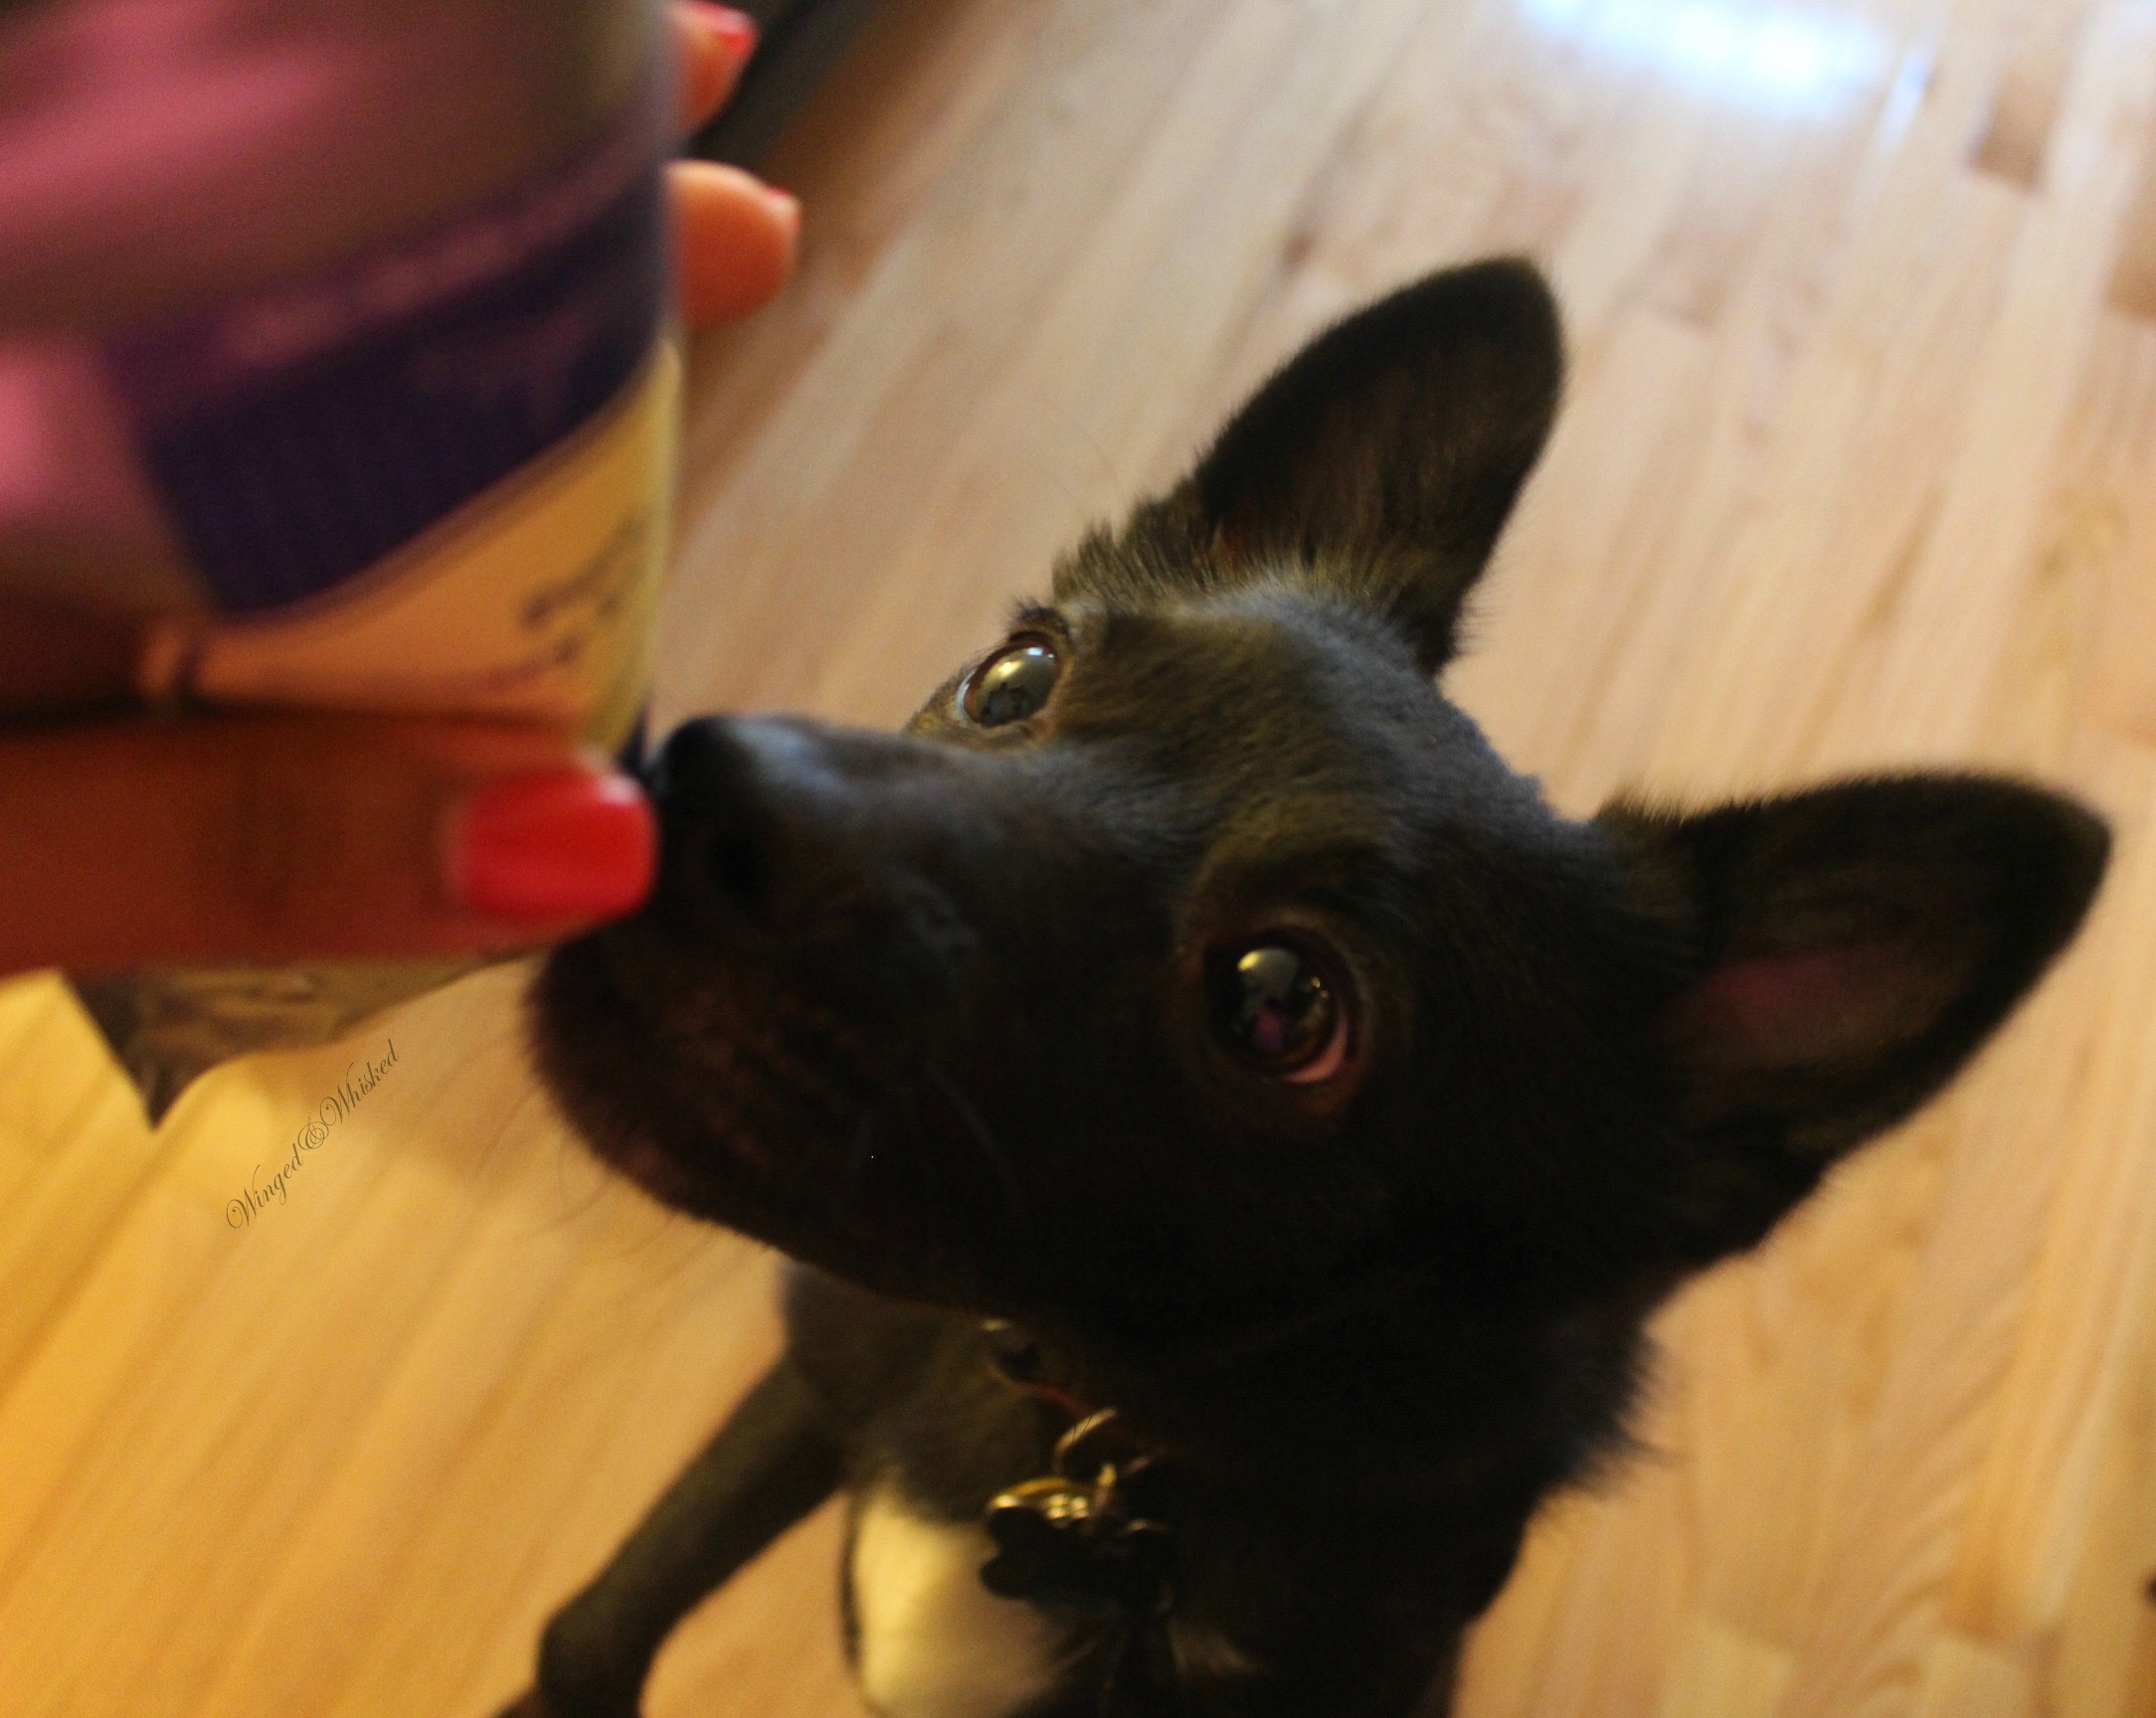
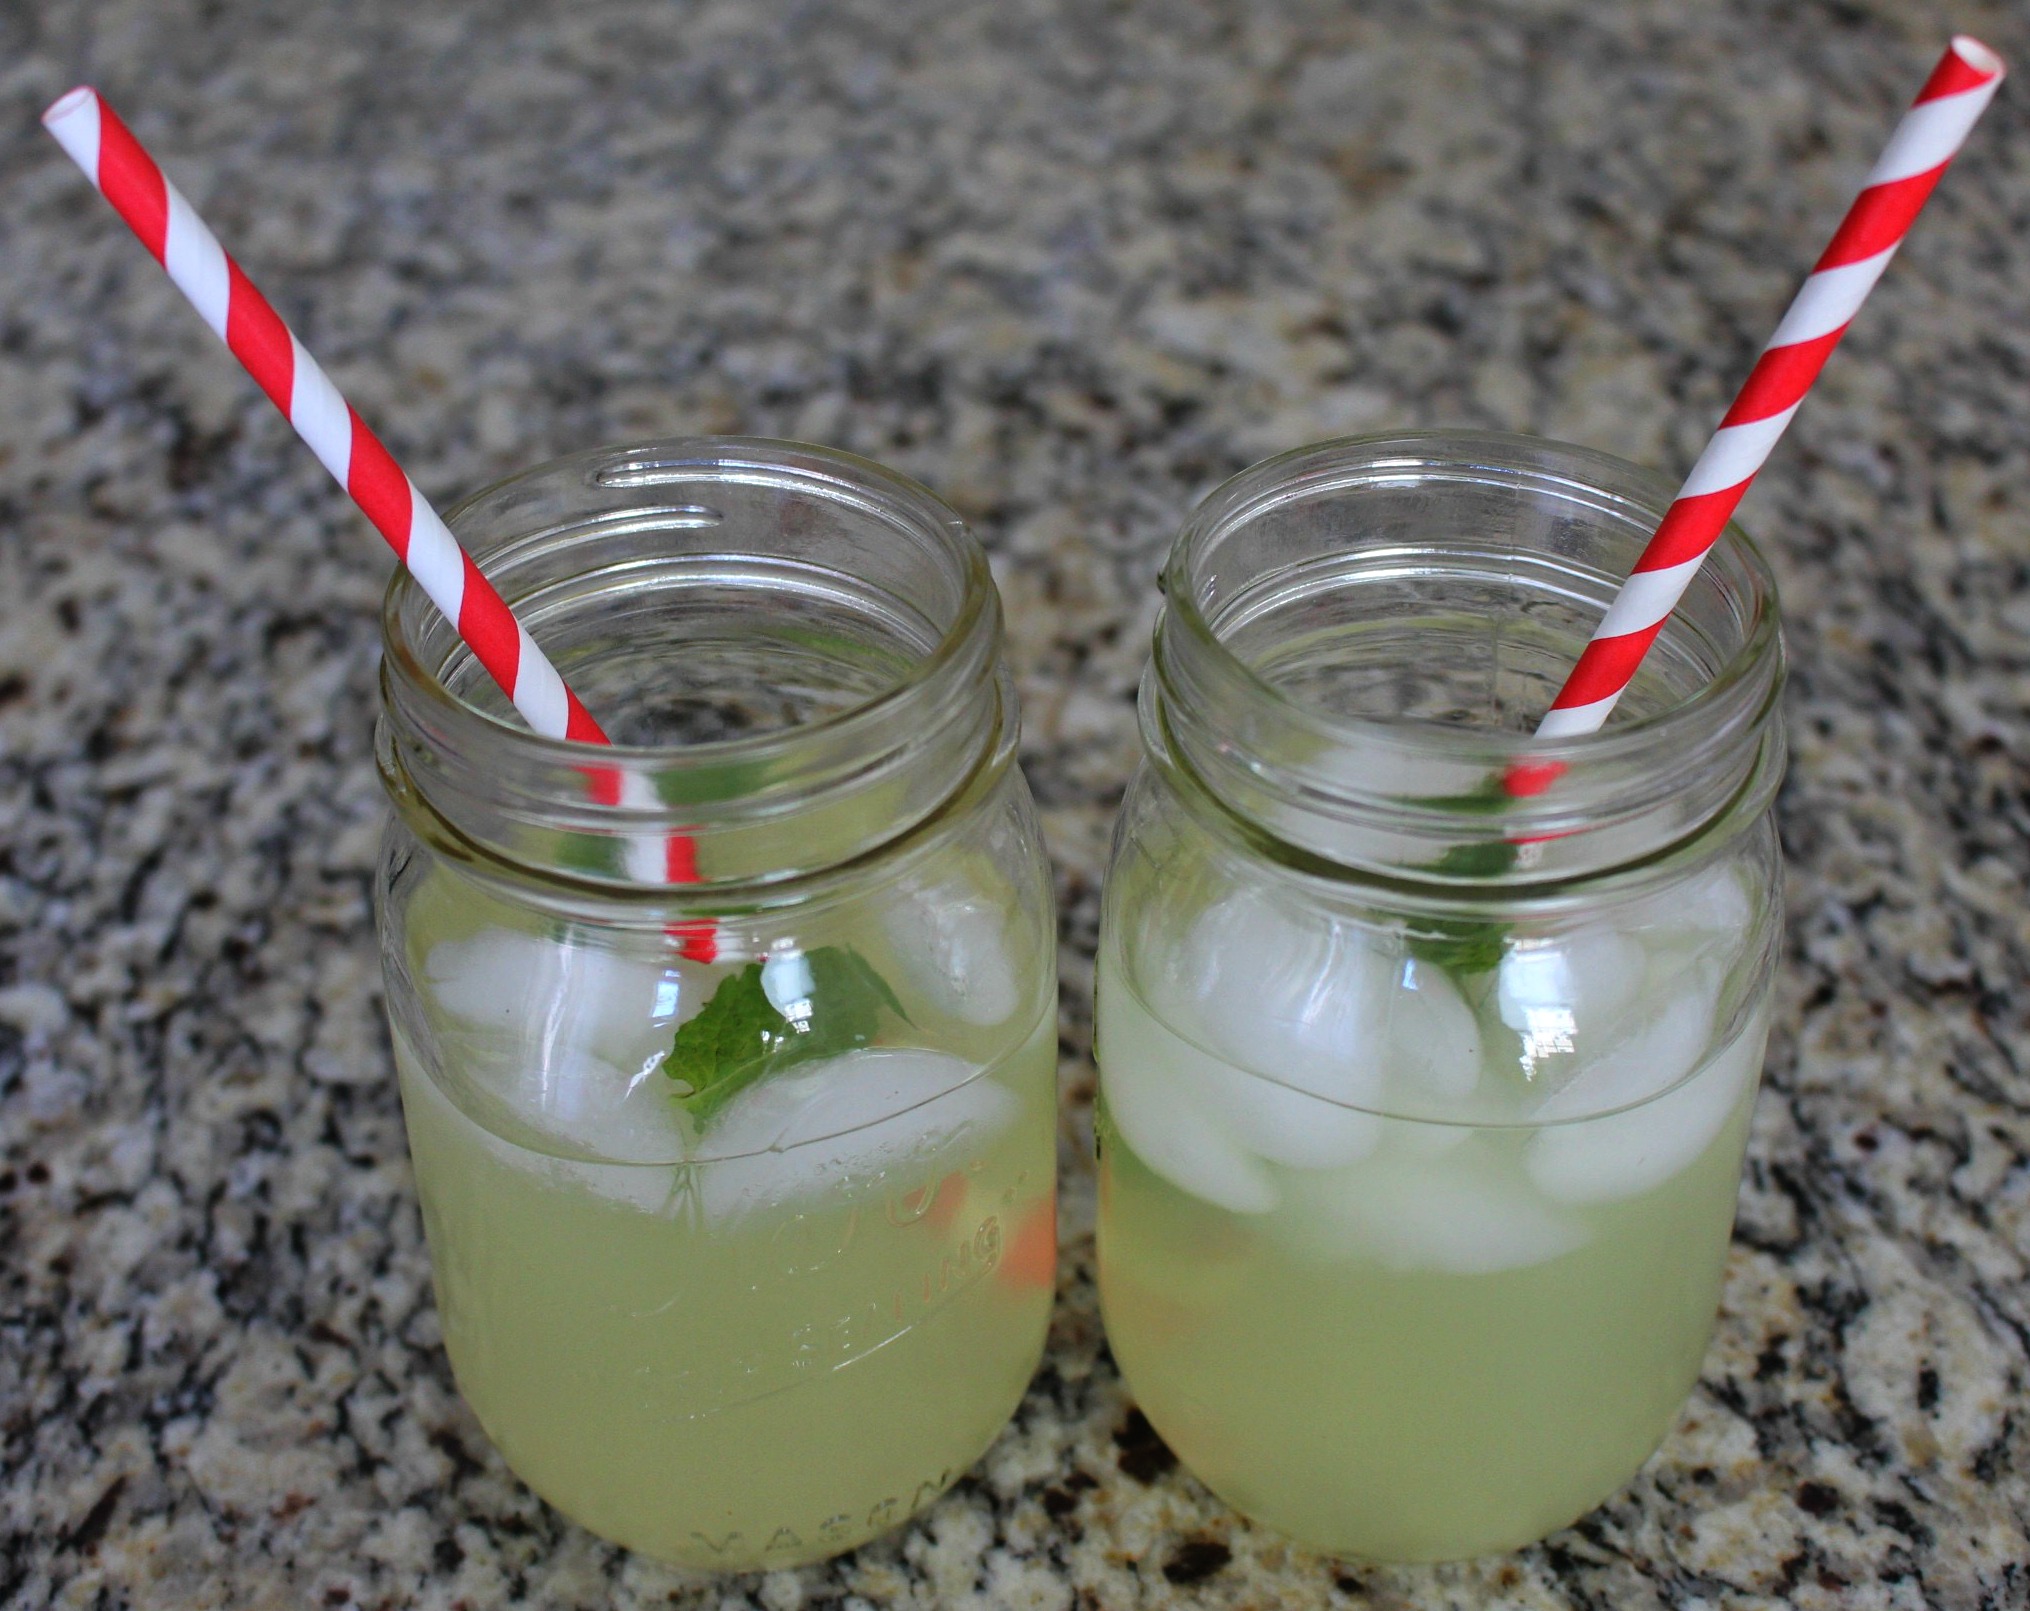
Making lemonade always takes me down memory lane. Growing up, my grandparents lived right next to a train station so me and my little cousin would have lemonade sales for 25 cents for all the evening commuters. So, when summer rolls around, I can’t wait to make lemonade. Today was a scorching 90 degrees in Jersey so I was craving a nice tall glass of lemonade. On our recent trip to Maui, we visited the lavender farm where I picked up culinary lavender and lavender spice rub so I could not wait to use them (even Pipp was intrigued by this new smell)

PippLavender

For my first recipe, I wanted to attempt lavender simple syrup.

For this, you’ll need:

  • Water
  • Fresh Mint (optional)
  • Culinary Lavender (we got this on our recent trip to Maui’s Ali’i Kula Lavender farm)
  • Sugar
  • Lemonade mix (or if you make homemade lemonade, even better!)
  • Mason Jar or any storage container of your choice for the syrup
  • Small pot
  • Pitcher
  • Strainer

To make lavender syrup : 

  • 1.5 cups of sugar
  • 1 cup of water
  • 1 tablespoon culinary lavender

Mix the sugar, water and lavender in a pot on high, stirring now and then and once the sugar dissolves, strain the mixture and let cool for 45 minutes – 1 hour before you mix it into the chilled lemonade. It will look like a pale purple color of simple syrup.

Once it cools, you can add the mint and syrup into the lemonade. Add some ice cubes, grab your straws and enjoy!

Lemonade


Chat

Review: Blue Apron

I love to cook at home but there are days when I wish takeout options were much healthier or if my cousin was just a quick drive away to cook for us. My cousin, Sonia is a fabulous self-taught chef and caters events all over Toronto. If you live in or near Toronto area, I would highly recommend her for meal delivery or catering your next event – Sonia’s Kitchen Catering. Since Toronto is not a quick drive away, I wanted to find a solution to eating healthy but still have the feel of takeout, so enter the picture: Blue Apron. With Blue Apron, my husband gets that “takeout” night and I still get to cook so it’s a win win for us both.

I ordered Blue Apron with a promotional code and eagerly waited for its arrival. When you sign up, you get the option to choose three meals but the caveat is only certain meals can be paired with others which was the one downside we found (especially if you have diet restrictions/allergies like me). We chose the 2-Person Plan for $59.94 since it’s just the two of us and they sent us three separate meals which was not only healthy and filling, but also introduced us how to prep ingredients in a different way. I already love sweet potato fries but as a pizza, even better! It really teaches you how to cook and if you’re already a cook, introduces new concepts. Not only was it a delicious and filling dinner, but you also have leftovers so no need to prepare for another meal. The meals are sent automatically so if you are going away on vacation, you have the option to “skip” your delivery schedule. During our time away, we forgot to skip a week and decided to gift the Blue Apron to my parents. They loved the concept, ease of use and variety of food items.

So here’s how the whole Blue Apron process works. Your three meals come packaged in a single box sealed with dry ice so all you need are simple kitchen tools and plates – no fancy spatulas or blenders needed. Be sure you have ample room in your fridge.

Once you open the box, inside  all the ingredients are perfectly portioned for each meal along with simple, easy to use instructions for even beginner cooks (i.e. my husband). It’s a fun way to spend time together with your significant other, have a girls night in or just crack open a bottle of wine and enjoy it yourself.

Go cook and enjoy your professional meal in the comfort of your home. For your first trial run, take a look at RetailMeNot or Groupon and let me know what you think. Here’s a few of the meals we made.


If you have tried or thinking of trying Blue Apron, Plated or even Hello Fresh, I would love to hear from you! Happy Cooking!